Ultimate Guide to DIY Roof Waterproofing Services in Dublin
Roof waterproofing is a crucial aspect of home maintenance, especially in a city like Dublin where the climate is notorious for its frequent rain and damp conditions. Properly waterproofing your roof not only prolongs its lifespan but also prevents costly damage to the structure of your home. This article aims to provide a comprehensive guide to DIY roof waterproofing services in Dublin, equipping homeowners with the necessary knowledge and skills to tackle this essential task effectively.
Understanding Roof Waterproofing
Before diving into the DIY process, it's important to understand what roof waterproofing entails. Essentially, it involves applying a protective layer to your roof that prevents water from seeping through. This layer can be made from various materials, including liquid membranes, bituminous membranes, or sheet membranes. Each type offers different levels of protection and has specific application techniques.
Why Waterproof Your Roof?
Waterproofing your roof is essential for several reasons:
- Prevents water damage: Protects the structural integrity of your home by preventing leaks and water damage.
- Increases lifespan: Extends the life of your roof by protecting it from harsh weather conditions.
- Energy efficiency: Improves insulation, reducing energy costs associated with heating and cooling.
To ensure these benefits, it's crucial to regularly inspect your roof for signs of wear and tear. For more detailed information on roof inspection services in Dublin, read more about this topic.
Materials and Tools Needed
To successfully waterproof your roof, you'll need the right materials and tools. Here's a basic list:
- Waterproofing membrane
- Primer
- Brush or roller
- Utility knife
- Sealant
- Protective gear (gloves, safety goggles)
Each type of membrane may require specific tools for application, so it's important to check the manufacturer's instructions. For a thorough understanding of these materials, learn more in this detailed guide.
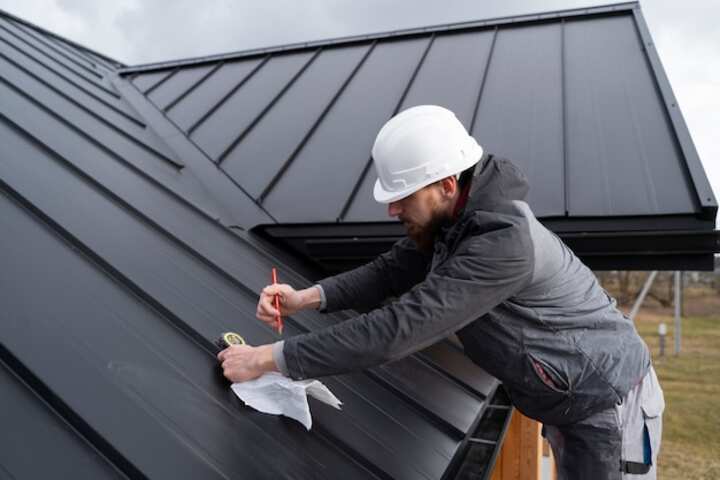
Step-by-Step DIY Roof Waterproofing
Waterproofing a roof can be a manageable DIY project if approached methodically. Here is a step-by-step guide:
1. Preparation
- Inspect your roof for any existing damage. Repair cracks, holes, or loose shingles before starting the waterproofing process.
- Clean the roof surface thoroughly. Remove debris, dirt, and any loose material to ensure proper adhesion of the waterproofing membrane.
2. Application of Primer
- Apply a primer to the roof surface. This step is crucial as it helps the waterproofing membrane adhere better.
- Follow the manufacturer's instructions for drying time before moving on to the next step.
3. Installing the Waterproof Membrane
- Carefully roll out the waterproofing membrane across the roof surface, cutting it to fit around any obstacles.
- Ensure there are no air bubbles trapped beneath the membrane by smoothing it out with a roller or brush.
4. Sealing Edges and Joints
- Use a sealant to reinforce the edges of the membrane and any joints or seams.
- Ensure all areas are completely sealed to prevent water ingress.
For further insights into the waterproofing process, explore further insights here.
Maintenance Tips
Once your roof is waterproofed, maintaining it is key to ensuring its longevity:
- Regularly inspect the roof for any signs of damage or wear.
- Clean gutters and downspouts to prevent water buildup.
- Reapply the sealant as needed to maintain its protective layer.
For more maintenance tips and strategies, find additional information here.
In conclusion, DIY roof waterproofing can be a cost-effective way to protect your home in Dublin's challenging climate. With the right materials, tools, and guidance, homeowners can ensure their roofs remain durable and efficient, safeguarding their investment for years to come.